Claude Desktop supports MCP natively. You have two ways to connect: a simple Bearer token (easiest) or full OAuth 2.1 with Dynamic Client Registration (most secure, and what we recommend for shared team access).
Method A: Bearer token (5 minutes)
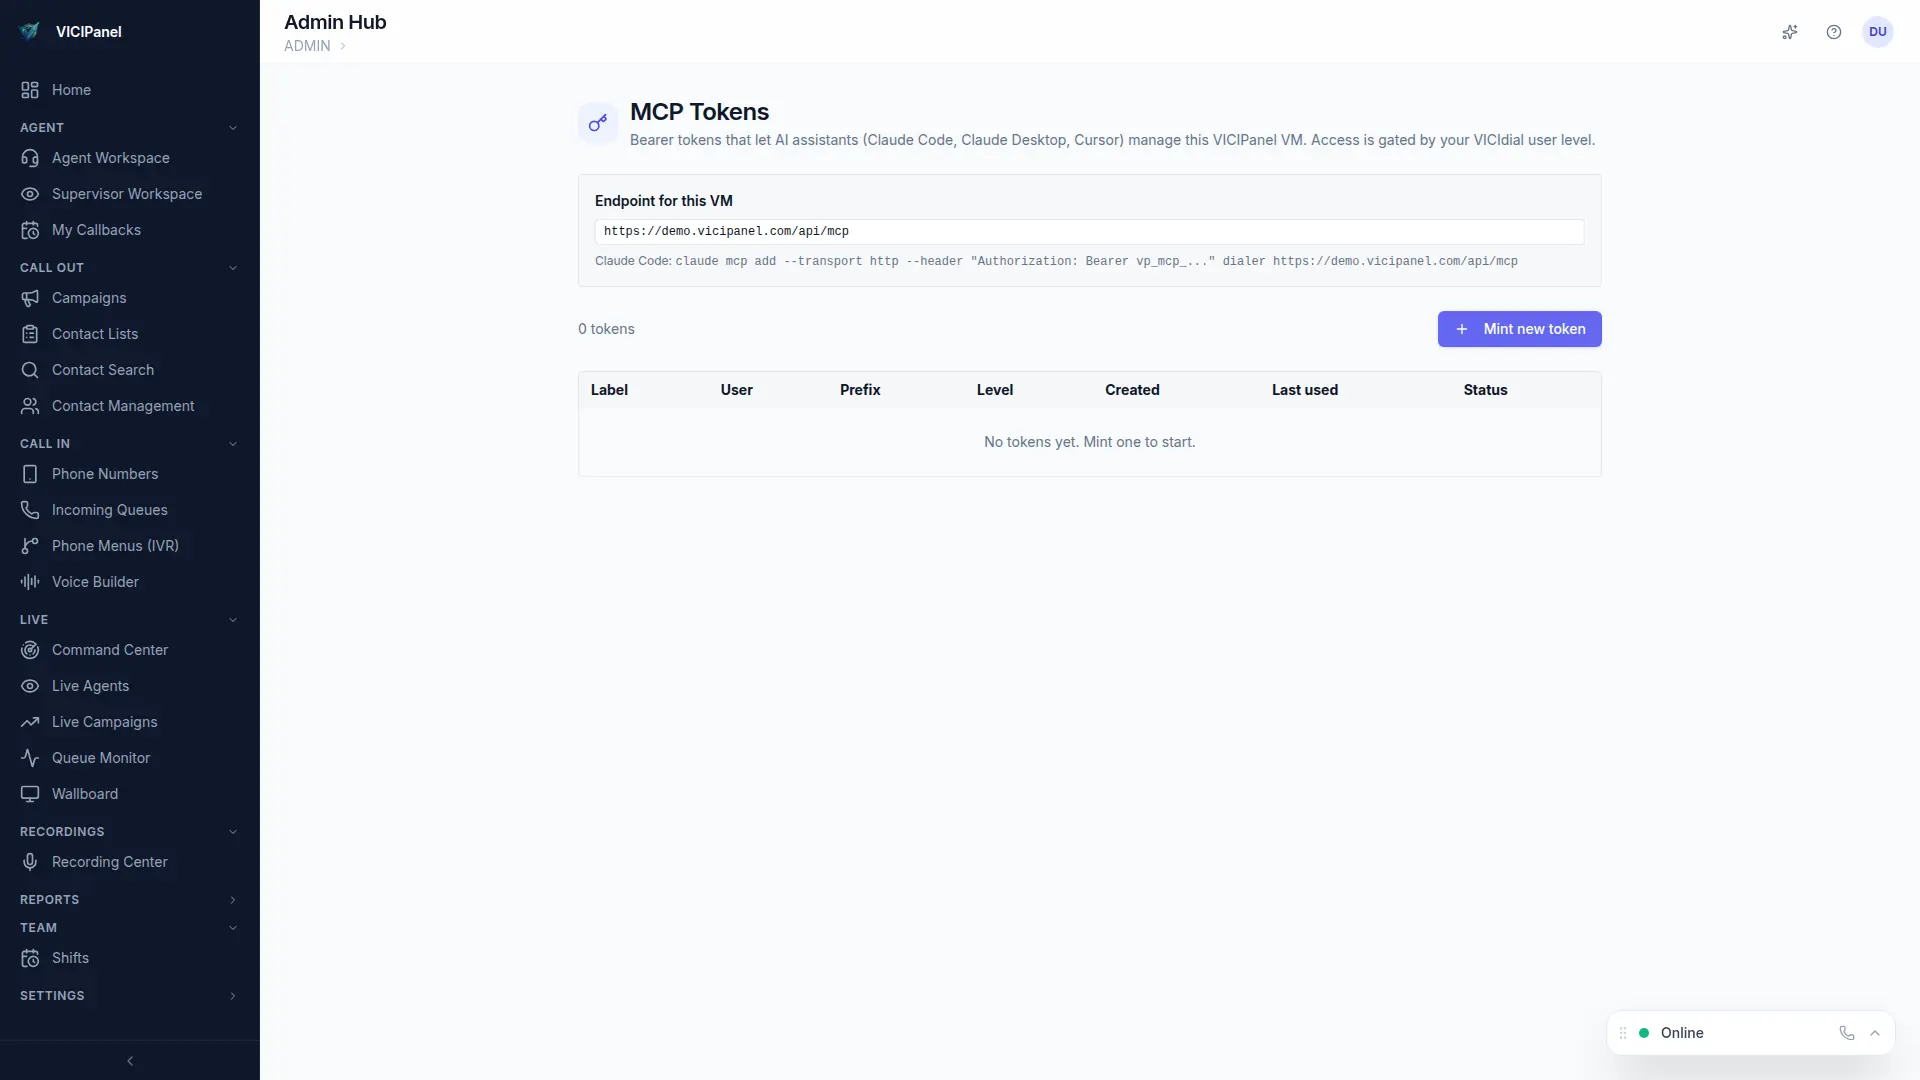
- 1
Generate a personal MCP token in VICIPanel
Admin → MCP → Tokens → New. Name it so you'll recognize it on the tokens list later.
- 2
Open Claude Desktop → Settings → Developer → MCP Servers
Click Add Server. Pick HTTP transport.
- 3
Server URL
Paste https://YOUR-TENANT.vicipanel.com/api/mcp
- 4
Auth header
Add header: Authorization: Bearer mcp_xxxxxxxx (your token)
- 5
Save and restart Claude Desktop
The server appears in the sidebar. Click it to see the available tools listed.
Method B: OAuth 2.1 with DCR (recommended for teams)
OAuth with Dynamic Client Registration is the modern way. Claude Desktop registers itself as a client with your VICIPanel tenant automatically, then each user signs in with their own credentials. No shared tokens, proper audit trail per user.
- 1
Enable OAuth for your tenant
Admin → MCP → OAuth settings → Enable DCR. No further configuration needed.
- 2
In Claude Desktop, add the server with OAuth
Server URL: https://YOUR-TENANT.vicipanel.com/api/mcp. Auth mode: OAuth.
- 3
Complete the flow
Claude Desktop opens a browser window. Sign in with your VICIPanel credentials and approve the MCP scope. You're back in Claude Desktop, connected.
Each user's OAuth session carries their VICIPanel user_level into the MCP server. An Agent-level user can only run agent-scope tools. A Manager can run manager-scope tools. Same permission model as the web UI.